How to turn a picture into a cross-stitch pattern (free)
Turn any photo or drawing into a printable cross-stitch pattern with numbered squares and a color key. How to pick the size, colors and fabric, step by step.
7 min read
A cross-stitch pattern is really just pixel art on a counting grid. Every square on the chart is one stitch, and every color has a code that tells you which thread to use. So if you can turn a picture into pixel art, you can turn it into a pattern: a pet portrait, a house, a logo, or a drawing your kid made.
The hard part isn’t the conversion. It’s choosing a size and a number of colors that give you something you’ll actually enjoy stitching. This guide walks through both.
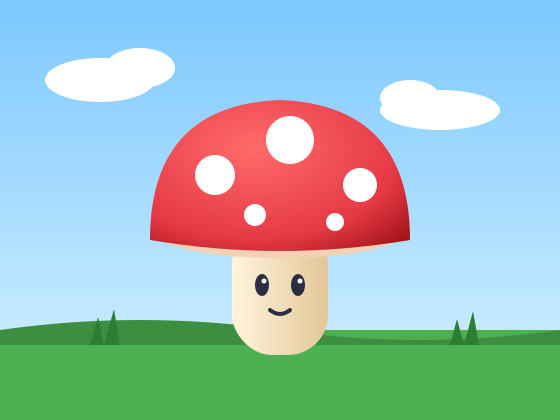
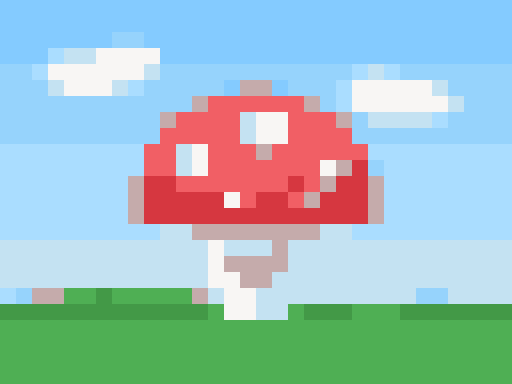
Step 1: Pick a picture that will stitch well
Some pictures make great patterns, and some turn into a mess of colors no matter what you do. Good choices have:
- One clear subject. A face, an animal, a building or an object, not a busy crowd or a wide landscape.
- Strong contrast. The subject should stand out clearly from the background.
- Large areas of flat color. Cartoons, logos and illustrations convert better than photos, because they’re already made of flat colors.
Crop tightly before you start. Every square of background you keep is a stitch you have to make, so cut away anything that isn’t part of the design.
Step 2: Choose the size in stitches
The size of your pattern is set by how many squares wide it is, and the finished size depends on your fabric. Cross-stitch fabric such as Aida is sold by count: the number of stitches per inch. 14-count is the most common, and the easiest to start on.
| Stitches wide | 11-count | 14-count | 18-count |
|---|---|---|---|
| 32 | 2.9 in 7.4 cm |
2.3 in 5.8 cm |
1.8 in 4.5 cm |
| 64 | 5.8 in 14.8 cm |
4.6 in 11.6 cm |
3.6 in 9 cm |
| 100 | 9.1 in 23.1 cm |
7.1 in 18.1 cm |
5.6 in 14.1 cm |
| 150 | 13.6 in 34.6 cm |
10.7 in 27.2 cm |
8.3 in 21.2 cm |
To work it out yourself, divide the number of stitches by the fabric count to get inches, then multiply by 2.54 for centimeters.
Fewer stitches means less detail but a much faster project. Around 40 to 80 stitches wide is a comfortable range for a first pattern made from a photo. Simple icons and characters can look great at 32 or even 16 stitches wide.
Remember to buy fabric bigger than the design. Leave a margin of about 3 inches (7–8 cm) on every side so you have room to hold the fabric in a hoop and to frame it later.
Step 3: Use fewer colors than you think
Each color is a separate thread to buy, sort and switch between, so the number of colors matters as much as the size. A photo can contain thousands of shades. A pattern you’ll enjoy usually has between 8 and 20.
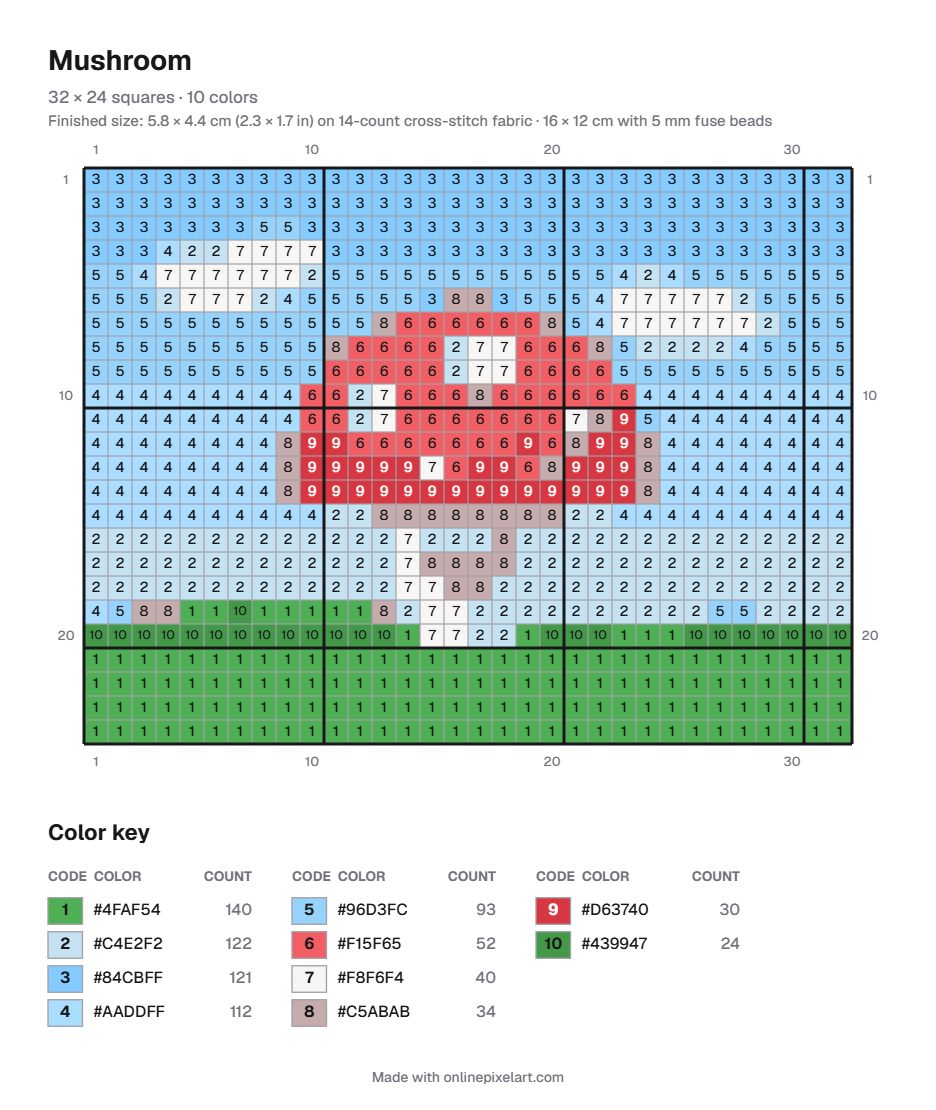
Look closely at the example above and you’ll see two problems that are typical of patterns made from pictures:
- Several shades of almost the same color. The sky uses four light blues. On fabric, nobody will see the difference, so you could stitch the whole sky in one or two blues and save yourself a lot of thread changes.
- Single stitches on their own. Look at the edges of the clouds, where single 2s and 4s sit between other colors. Stitchers call these confetti stitches, and they’re slow to make because you start and finish a thread for just one stitch. Fewer colors means less confetti.
Also turn dithering off. Dithering mixes pixels of two colors to fake a shade in between, which looks good on a screen but creates exactly that confetti on fabric. Our dithering guide explains why.
If you only want to stitch the subject and let the fabric show through as the background, start from a PNG with a transparent background. Transparent areas become empty squares in the pattern, and they aren’t counted as stitches.
Step 4: Make the pattern
Here’s how to do it with our free image to pixel art converter. Your picture is processed in your browser and is never uploaded anywhere.
- Open your picture. Upload it, drop it on the page or paste it from the clipboard.
- Set the size. Under Size, choose Original and drag the width slider to the number of stitches you want. To get an exact width and height, choose Custom and type both in, then use Crop to fill to choose which part of the picture to keep.
- Reduce the colors. Under Colors, leave the palette on Automatic and lower Number of colors until the picture just stops looking right, then go up one or two. Make sure Dithering is Off.
- Check it closely. Click Full screen and zoom in to look for confetti stitches and colors you could merge.
- Create the pattern. Click Create a pattern under the preview and pick what the squares show:
- Color + number is the easiest to follow.
- Number only prints black codes on white. It saves ink and stays readable on a black-and-white printer.
- Color only gives a classic color chart without codes.
- Download the PDF on A4 or Letter paper, or a single PNG image.
The PDF starts with a preview of the finished design, its finished size on 14-count fabric, and a color key listing every color with its code and how many stitches it needs. Large patterns are split across several pages with a small map that shows which part of the design is on which page. Rows and columns are numbered on every page, with a heavier line every 10 squares to make counting easier.
Step 5: Match the colors to your thread
The color key gives each color as a hex code (such as #D63740), which describes a color on screen. Embroidery floss is sold by brand number instead, such as DMC or Anchor, so you’ll need to pick a thread for each code.
The most reliable way is to hold a printed copy of the color key, or your screen, next to a thread color card or the floss in a shop, and pick the closest match by eye. Online hex-to-floss charts can give you a starting point, but screens and printers both shift colors, so check the real thread before you buy. The stitch count next to each color helps you estimate how much of each thread you need.
Step 6: Start stitching from the middle
Most stitchers start in the center, so the design ends up centered on the fabric:
- Fold your fabric in half both ways and crease it lightly. The center is where the folds cross.
- Find the middle of the chart by counting half the columns and half the rows. The numbered rulers make this quick.
- Work outward from there, one color at a time, counting squares along the bold lines every 10.
Mark off each area on a printed copy as you finish it, so you never lose your place.
The same pattern works for other crafts
Because it’s just a grid of colored squares, the same pattern works for any craft that builds a picture square by square:
- Fuse beads (Perler, Hama and similar). Each square is one bead. The PDF also gives the finished size with 5 mm beads.
- Crochet, such as corner-to-corner (C2C) blankets and tapestry crochet. Each square is one block or stitch.
- Diamond painting, mosaics and LEGO mosaics, where each square is one drill, tile or brick.
- Knitting colorwork. Keep in mind that knitted stitches are usually wider than they are tall, so a square chart comes out a little squashed on the needles.
Whatever you make, the advice is the same: crop tightly, keep the size modest, use as few colors as the picture allows, and leave dithering off.